
Smartphone cameras are so good now that the main difference between a casual snapshot and a stunning wall print isn’t the device—it’s what you do afterward. With a little know-how about photo printing, you can turn your everyday images into professional-looking artwork worthy of your living room, office, or gallery wall.
This guide walks you step-by-step from choosing the right photo on your phone to hanging a polished, archival-quality print on your wall.
1. Start With the Right Smartphone Photo
Even the best printer can’t fix a weak image. Before you think about photo printing services or paper types, choose a photo that has:
- Strong composition – Clear subject, clean background, and balanced framing. Use the rule of thirds, leading lines, or symmetry.
- Good lighting – Natural light (window light or shade outdoors) usually beats harsh direct sun or dim indoor bulbs.
- Sharp focus – Zoom in on your phone to 100%: if eyes, textures, or key details look fuzzy on the screen, they’ll look worse in print.
- Sufficient resolution – Most modern phones shoot 12 MP or higher, which is enough for large prints if you don’t crop heavily.
Pro tip: Avoid over-cropping and heavy digital zoom. If you think you might print big, step closer instead of zooming and keep the full-resolution file.
2. Check Resolution and Ideal Print Size
Before sending anything to a lab, make sure your file can handle your desired size without looking pixelated.
How to check your photo size
On your phone:
- iOS: In Photos, tap the info (ℹ️) icon or use a file manager app to see pixel dimensions.
- Android: Use the built-in gallery or a file manager; look for “Details” or “Properties.”
You’ll see numbers like 4000 x 3000 pixels. To estimate safe print size, divide by 300 (a standard “high quality” print resolution, 300 DPI/ppi):
- 4000 ÷ 300 ≈ 13.3 inches
- 3000 ÷ 300 ≈ 10 inches
This means a 12" x 9" or 12" x 8" print will look very sharp; 16" × 12" will still be quite good viewed on a wall.
Rule of thumb for photo printing:
- Small prints (4" × 6", 5" × 7") – Almost any recent smartphone photo works.
- Medium prints (8" × 10", 11" × 14") – Fine for uncropped photos from most modern phones.
- Large prints (16" × 20" and up) – Use the highest-res photos, minimal cropping, and expect viewing distance to help hide minor softness.
3. Edit Like a Pro: Subtlety Wins
Your smartphone has powerful editing tools built in, but heavy-handed adjustments often look worse in print than on screen. Aim for clean, natural edits.
Essential edits before printing
-
Straighten and crop
- Level horizons and vertical lines.
- Crop out distractions at the edges.
- Lock aspect ratio (e.g., 4:5, 3:2) to match common print sizes.
-
Adjust exposure and contrast
- Brighten dark images slightly.
- Add a bit of contrast, but avoid crushed shadows or blown-out highlights.
-
Fine-tune color and white balance
- Remove strong color casts (too blue/yellow).
- Boost vibrance slightly; avoid radioactive saturation.
-
Sharpen carefully
- Most phones apply sharpening already. Add only a light touch if needed.
- Don’t aggressively sharpen noisy or low-light images—they’ll look gritty in print.
-
Remove distractions
- Use healing tools to fix minor blemishes, dust spots, or background clutter.
Popular apps like Snapseed, Lightroom Mobile, and VSCO offer more control than default editors—especially useful for serious photo printing projects.
4. Choose the Right Aspect Ratio and Print Size
If you don’t plan ahead, you’ll end up with unexpected cropping or white borders from your lab.
Common aspect ratios & what they mean
- 3:4 / 4:3 (most phones) → works well for 6" × 8", 9" × 12", 12" × 16"
- 3:2 (DSLR style) → fits 4" × 6", 8" × 12", 12" × 18"
- 1:1 → square prints like 8" × 8", 12" × 12"
- 4:5 / 5:4 → fits 8" × 10", 11" × 14", 16" × 20"
When editing, crop to the exact ratio you plan to print. Many apps let you choose preset ratios—use them to avoid surprises.
5. Understand Photo Printing Paper Types
Paper choice dramatically affects how your smartphone photo looks on the wall. Different finishes have distinct textures, reflections, and color rendition.
Common print finishes
-
Glossy
- Very vibrant colors and deep blacks
- Reflective; shows fingerprints and glare
- Best for vivid photos in spaces without harsh direct light
-
Lustre / Semi-gloss
- Great balance: rich color, softer reflections
- Light texture hides fingerprints and minor imperfections
- Excellent all-around choice for most wall art
-
Matte
- Non-reflective; ideal for bright rooms
- More muted colors and less contrast
- Elegant for portraits, fine art, and moody images
-
Fine art / Giclée papers
- Heavier, textured or cotton-based papers
- Museum-style appearance and archival longevity
- Perfect for black-and-white, landscapes, and minimalistic art
For your first serious wall art project, a lustre or matte finish from a reputable photo printing lab is usually the safest choice.
6. Pick a Printing Method: Lab vs. Home Printer vs. Online Service
Not all prints are created equal. The method you choose influences quality, color accuracy, and durability.
1. Professional photo lab (in-person)
- Best balance of convenience and quality.
- Staff can advise on paper and size.
- Ideal for larger prints and important pieces.
2. Online photo printing services
- Wide range of products: posters, canvas, metal, fine art.
- Easy uploads directly from your phone.
- Often better quality control and more options than local drugstore kiosks.
3. Home photo printer
- Convenient for small prints and quick tests.
- Requires photo paper and regular ink replacements.
- Quality depends heavily on your printer and settings.
If you’re creating professional-looking wall art, a reputable professional lab or high-quality online service is usually worth the extra cost. Organizations like the Imaging Science Foundation highlight how professional calibration improves color accuracy (source: Imaging Science Foundation).
7. Color Management: What You See vs. What You Get
One of the biggest frustrations in photo printing is color mismatch: your print doesn’t look like your screen.
You can improve consistency even without pro gear:
- Turn off extreme screen modes. Avoid “Vivid,” “Boosted,” or “Intense” display profiles when editing.
- Reduce screen brightness. Edit at a moderate brightness. If your screen is too bright, you’ll produce dark-looking prints.
- Stick to sRGB color space. Most labs assume sRGB. In editing apps, export JPEGs in sRGB unless the lab specifies otherwise.
- Use lab-provided guidelines. Some labs give recommended settings or even color profiles—follow them when possible.
Perfect color management can get technical, but even these simple steps will noticeably improve your results.
8. Explore Wall Art Materials: More Than Just Paper
Photo printing today goes far beyond traditional glossy paper. For a truly professional look, consider alternative materials:
-
Canvas prints
- Texture adds an art-like feel.
- No glass reflection; lightweight and easy to hang.
- Slightly softer detail, great for large sizes and painterly images.
-
Metal prints (aluminum)
- Very modern, sleek look with high contrast.
- Durable and easy to clean.
- Works well with vibrant landscapes and abstracts.
-
Acrylic prints
- Printed on photo paper and mounted behind acrylic.
- Extremely vivid with a glossy, gallery-style finish.
- Heavier and more premium-looking; ideal for statement pieces.
-
Wood prints
- Natural, warm aesthetic; grain sometimes shows through.
- Best with simple, high-contrast images and earthy tones.
When choosing a medium, think about your decor style, the photo’s subject, and whether you want something subtle or a bold focal point.
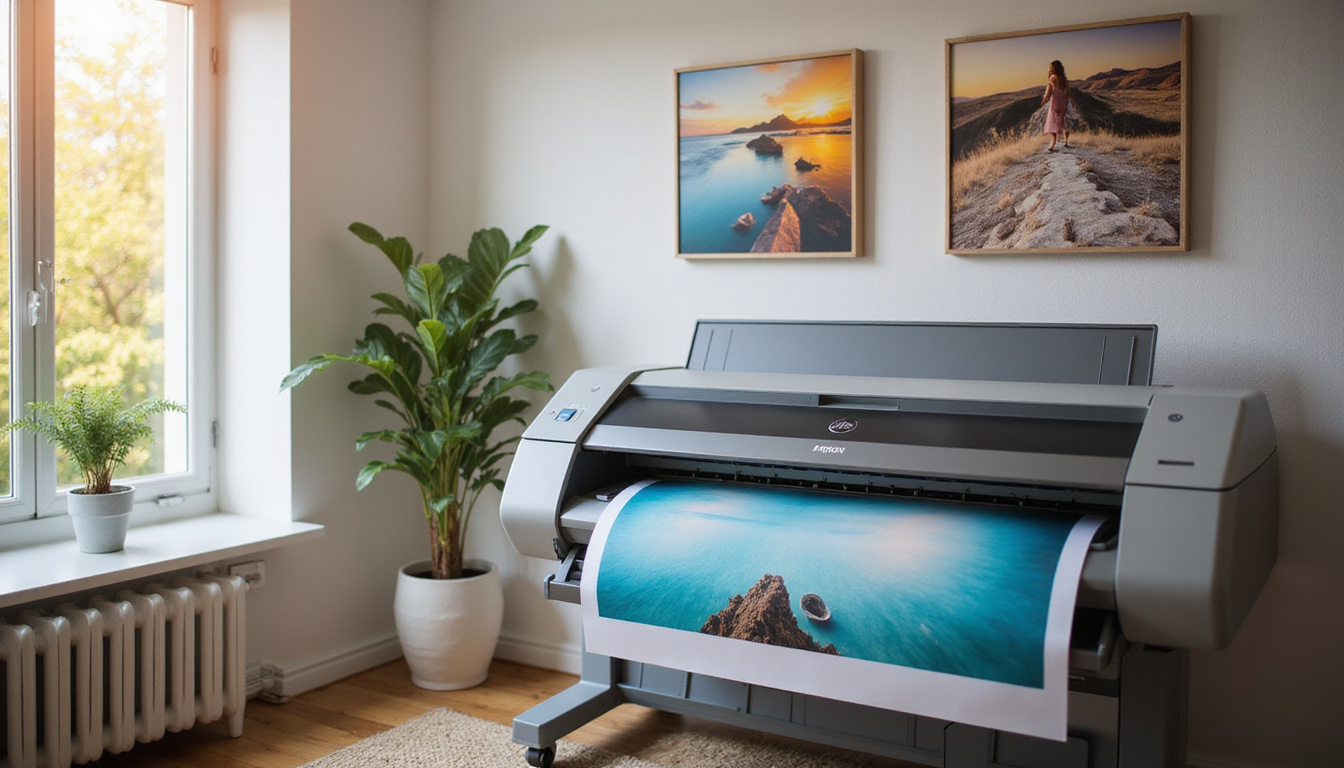
9. Framing, Matting, and Display
A great print can still look amateurish with poor framing. Presentation is part of making your smartphone photo feel like real art.
Framing basics
-
Choose a frame that suits the image and room
- Simple black, white, or natural wood frames are versatile.
- Avoid overly ornate frames unless they match the decor.
-
Consider a mat (mount)
- A white or off-white mat gives the image space to breathe.
- It prevents the photo from touching the glass and adds a gallery look.
- Common mat widths: 1.5"–3", proportionate to print size.
-
Use glare-reducing glass in bright rooms
- Standard glass is fine for most spaces.
- Non-glare or UV-protective glass helps where sunlight hits.
Hanging tips
- Eye level is roughly 57"–60" from floor to center of the image.
- For a gallery wall, plan layout on the floor first or use paper templates on the wall.
- Use proper anchors for the wall type and weight of your piece.
10. Prepare Files Correctly for Printing
Before you upload or hand off your images:
-
Export high-quality JPEGs
- Quality: 90–100% (or “Maximum”).
- Color space: sRGB, unless your lab says otherwise.
- Don’t over-compress to save space; detail loss is very visible in prints.
-
Size them appropriately
- Either send full-resolution files or follow your lab’s sizing instructions.
- Make sure the aspect ratio matches the print size.
-
Name files clearly
- Use descriptive names (e.g., “LivingRoom_Landscape_16x20.jpg”) to avoid mix-ups.
-
Order a test print
- For a large, expensive piece, start with a smaller print first.
- Use it to check color, brightness, and sharpness.
11. Protect and Care for Your Printed Wall Art
Once you’ve invested in quality photo printing and framing, protect that investment:
- Keep out of direct sunlight to avoid fading.
- Avoid high humidity spots (like directly over steamy showers) unless prints are sealed or on durable materials like metal.
- Dust gently using a soft, dry cloth or microfiber.
- For framed prints, check hanging hardware occasionally to prevent accidents.
High-quality papers, inks, and proper storage can keep prints vibrant for decades or more.
FAQ About Photo Printing From Smartphone Images
Q1: Can I do professional photo prints from my phone pictures?
Yes. Modern smartphones capture enough resolution and detail for professional photo printing up to fairly large sizes, especially if the shots are well-lit and not heavily cropped. Editing carefully and using a reputable lab are key.
Q2: What’s the best size for printing iPhone photos as wall art?
Most recent iPhones produce images that comfortably print at 8" × 10" or 11" × 14" with excellent quality. Larger wall art photo printing, like 16" × 20" or bigger, is usually fine too, especially if the photo is sharp and viewed from normal wall distance.
Q3: Which paper is best for printing smartphone photos?
For most people, a lustre or semi-gloss paper offers the best balance between rich color and reduced glare. If you prefer a more refined or artistic look, consider matte or fine art papers from a professional photo printing service.
Transforming smartphone snapshots into professional wall art is less about owning an expensive camera and more about understanding the photo printing process. When you start with a strong image, edit with intention, choose the right paper or medium, and present it well, your everyday photos can become stunning focal points in your home or office.
If you’re ready to see your favorite shots off the screen and on your walls, pick one image right now—your best travel scene, a family portrait, or a minimalist detail—and send it to a trusted photo printing lab. Use the tips in this guide to choose size, paper, and framing, and in a few days you’ll have a tangible piece of art that proves just how powerful your smartphone camera can be.