In a marketplace flooded with rectangular business cards, standard brochures, and generic packaging, die cut printing is a powerful way to stand out. By giving your printed pieces unique shapes and contours instead of simple straight edges, you can dramatically increase visual impact, brand recall, and perceived value—often without blowing up your budget.
This guide breaks down what die cutting is, how it works, and how to use it strategically to boost your brand appeal with custom shapes that people actually remember and keep.
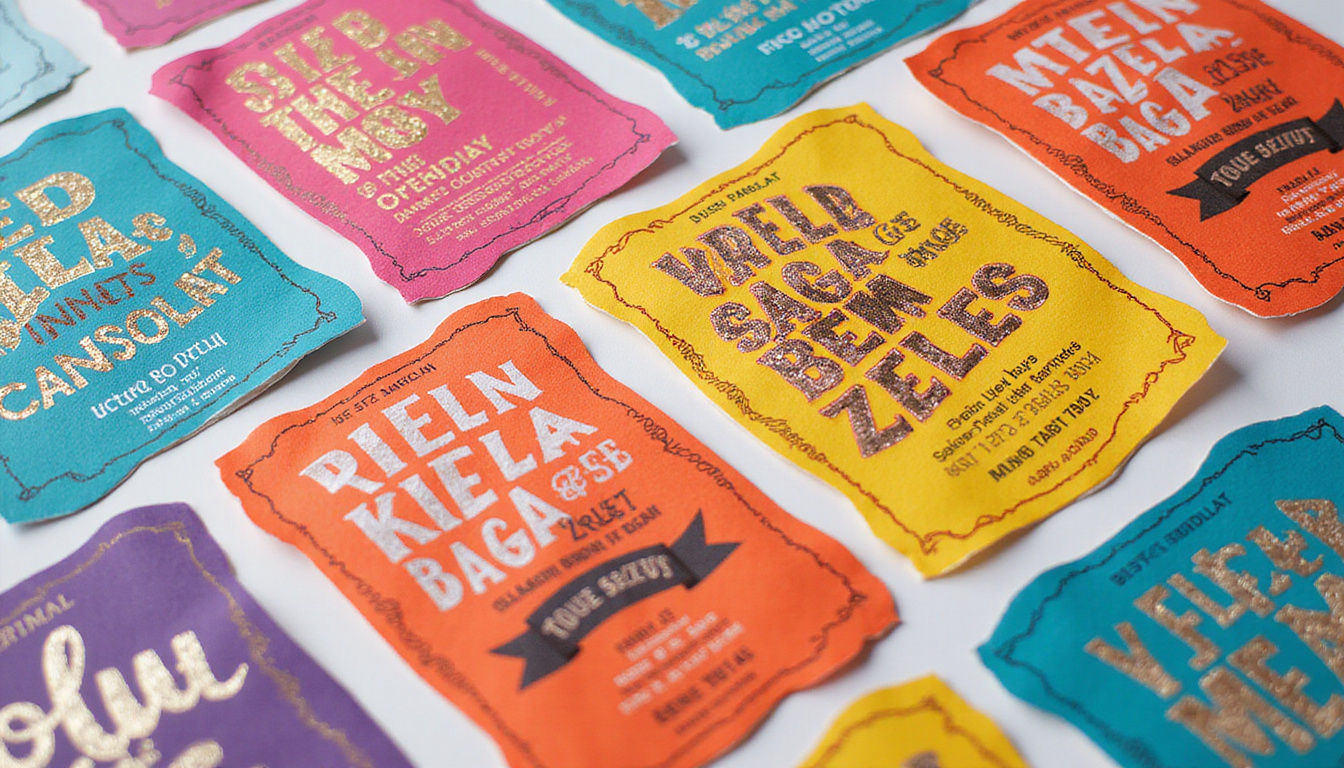
What Is Die Cut Printing?
Die cut printing is a production method that uses a custom-made metal tool—called a “die”—to cut paper, cardstock, labels, or packaging into specific shapes. Instead of trimming everything to a rectangle, the printer uses the die to punch out:
- Curves
- Angles
- Holes and windows
- Intricate outlines
Think of die cutting as using a cookie cutter on paper: the die is the cutter, and your printed material is the dough.
Common die cut products include:
- Business cards and postcards
- Folders and hang tags
- Product packaging and boxes
- Stickers and labels
- Door hangers, invitations, and menus
Because the shape itself becomes part of the design, die cut printing turns ordinary pieces into brand assets that feel more premium and memorable.
How Die Cutting Works in the Print Process
Understanding the process helps you design smarter and avoid costly revisions. Although each print shop has its nuances, die cut printing generally follows these steps:
-
Design Creation
You or your designer create a layout that includes a cut line layer indicating exactly where the die will cut. This path is typically set as a vector line in a spot color named “DIE” or “CUT.” -
Die Manufacturing
The printer sends that vector outline to a die maker, who fabricates a cutting die from steel rule blades mounted in a wooden base. For digital or laser cutting, no physical die is needed, but the concept remains similar. -
Printing the Piece
Your artwork is printed onto the chosen substrate (paper, card, label stock, etc.) using offset, digital, or flexographic printing. -
Die Cutting
The printed sheets are run through a die cutting press, where the die applies pressure to cut through the material along the defined path. -
Stripping and Finishing
The waste material around and within the shape is removed (“stripped”), and the finished pieces are stacked, packaged, or further finished (scored, foiled, glued, etc.).
Types of Die Cutting: Choosing the Right Approach
There isn’t just one way to execute die cut printing. Choosing the right technique depends on your budget, quantity, complexity, and turnaround time.
1. Traditional (Steel-Rule) Die Cutting
This is the classic method. A metal blade shaped into your design is pressed into the material with high pressure.
Best for:
- Medium to high volumes
- Reusable, standard shapes (e.g., pocket folders, circles, ovals, basic custom outlines)
- Thick stocks and packaging boards
Pros: Economical at scale, durable dies, precise cuts.
Cons: Upfront die cost, longer setup, less ideal for micro-runs.
2. Digital Die Cutting (Knife or Router-Based)
Digital cutters use a sharp blade guided by a computer to trace your cut line, eliminating the need for a physical die.
Best for:
- Short runs
- Rapid prototyping
- Simple to moderately complex shapes
Pros: No die cost, fast to set up, ideal for on-demand jobs.
Cons: Slower per piece at large volumes, less efficient for very intricate designs.
3. Laser Die Cutting
High-powered lasers cut, etch, or perforate the material. This is especially useful for very intricate or delicate designs.
Best for:
- Finely detailed patterns
- Complex internal cutouts (e.g., lace-like paper, ornate labels)
- Specialty materials where precision is critical
Pros: Extreme precision, no physical die, great for creative effects.
Cons: Higher cost per unit, potential charring on some stocks if not properly managed.
Why Die Cut Printing Boosts Brand Appeal
Custom shapes are more than a visual gimmick. They tap into how people notice, touch, and remember physical objects.
1. Instant Visual Differentiation
When every business card in a stack is rectangular, a rounded, angled, or entirely custom silhouette instantly rises to the top. The human eye is drawn to contrast; a non-standard shape automatically looks more interesting.
For example:
- A coffee shop business card shaped like a takeaway cup
- A fitness studio postcard in the silhouette of a dumbbell
- An architect’s brochure with angular, structural cutouts
Each turns your card or flyer into a tiny billboard for your brand personality.
2. Stronger Brand Storytelling
Die cut printing lets you align the physical form of your marketing materials with what you sell or stand for:
- Eco-friendly brands can use leaf or tree silhouettes.
- Tech companies can cut out icons or device outlines.
- Food and beverage brands can echo product shapes (bottles, cans, utensils).
This sort of visual metaphor helps prospects understand and recall what you do without reading a single line of copy.
3. Higher Perceived Value and Memorability
A well-designed die cut piece feels more bespoke and intentional. That perceived quality can transfer directly to your brand. People are more likely to:
- Keep your card or direct mailer
- Show it to colleagues or friends
- Post it on a bulletin board or fridge
Physical retention equals more brand impressions over time.
4. Tactile Engagement
Shape, edges, and cutouts encourage people to touch and explore the piece. That tactile engagement is a key advantage of print over digital. Neuroscience research shows that physical media can trigger stronger emotional responses and brand recall than purely digital formats (source: Canada Post / True Impact “A Bias for Action”).
Smart Applications of Die Cut Printing
Here’s how brands commonly use custom shapes to drive real business outcomes.
Business Cards that Don’t Get Tossed
Standard business cards are easy to lose and easier to forget. Consider:
- Rounded corners for a subtle differentiation
- Custom silhouettes related to your industry
- Corner or side cutouts that create a signature look
Just keep them wallet-friendly—oversized or overly fragile shapes might look great but won’t be kept.
Direct Mail that Gets Opened
Mailboxes are competitive spaces. Use die cut printing to:
- Add windows that show part of the inside offer
- Create unusual edges to pique curiosity
- Design self-mailers with shaped flaps or tabs
The goal is to make a piece that feels too interesting to toss without at least a quick look.
Packaging that Commands Shelf Space
On a crowded shelf, box shape and structure matter as much as artwork:
- Unique carton tops or closure mechanisms
- Die cut windows to reveal the product
- Structural shapes that echo your brand (e.g., a house-shaped box for a real estate gift kit)
Even small structural tweaks can help your product pop next to dozens of similar items.
Stickers, Labels, and Tags with Character
Custom-shaped stickers and labels:
- Fit products more snugly
- Offer better branding on curved surfaces
- Double as promotional freebies that fans love to stick on laptops, bottles, or gear
Hang tags and apparel tags with unusual shapes or cut-out logos also elevate perceived quality.
Design Best Practices for Effective Die Cut Printing
Creative freedom is high—but so is the risk of design mistakes. Use these guidelines to keep your project print-ready and cost-effective.
1. Keep the Shape Functional
Ask: Will this piece still be easy to use, store, and mail?
- Avoid shapes that are too spiky, fragile, or complex at small sizes.
- Maintain enough “body” so the piece doesn’t bend or tear easily.
- Confirm with your printer that the final size is compatible with standard envelopes and card holders.
2. Respect Safety Margins and Bleeds
For clean results:
- Keep vital text and logos at least 1/8" (3 mm) inside the cut line.
- Extend background colors and images at least 1/8" beyond the cut line (bleed) to avoid white edges.
- Avoid ultra-thin outlines exactly on the die line; slight shifting can make them look off.
3. Simplify Extremely Complex Paths
Intricate shapes can look amazing but may:
- Raise your die manufacturing cost
- Increase the chance of tearing or mis-cut
- Slow down production and raise unit cost
Whenever possible, simplify highly detailed curves and reduce tiny internal cutouts.
4. Choose Suitable Materials
Not every stock responds the same way to die cutting:
- Thicker stocks work well for sturdy cards and packaging but may require stronger pressure and simple shapes.
- Very thin papers are more prone to tearing or wrinkling.
- Textured and specialty stocks may need testing to ensure clean edges.
Ask your printer what stocks they recommend for your specific die cut project.
5. Use Vector Artwork for the Cut Line
Your die line must be a smooth, vector path:
- Create it in software like Adobe Illustrator, Affinity Designer, or similar.
- Put it on a separate layer and label it clearly (“DIE LINE” or “CUT”).
- Use a spot color (often 100% magenta or a unique named color) and set it to “overprint stroke” so it won’t appear as a gap in the final art.
Cost Considerations: How to Use Die Cutting Without Blowing Your Budget
Die cut printing doesn’t have to be expensive, but costs depend on choices you make early on.
Factors that impact price:
- Complexity of the shape – The more intricate the path, the higher the die cost and setup time.
- Quantity – At higher volumes, the upfront die cost is spread over more units, making each piece more affordable.
- Type of die cutting – Traditional dies have upfront tooling costs; digital or laser often cost more per unit but avoid the die expense.
- Material – Thicker or specialty stocks may require slower cutting and more waste.
Cost-saving tips:
- Use existing “house dies” your printer already owns, such as standard rounded corners or popular folder shapes.
- Keep your first die relatively simple, then reinvest in more complex shapes as you see ROI.
- Test with a short run using digital or laser cutting before committing to a large offset-printed and die cut order.
Simple Workflow for Your First Die Cut Project
To keep things smooth, follow this basic process:
- Define the goal: What do you want this piece to achieve (more leads, better shelf impact, higher response rates)?
- Sketch the shape: Roughly outline how the die cut will support that goal.
- Consult your printer early: Ask about optimal sizes, stock, and their die cutting capabilities.
- Create print-ready files: Artwork on one layer, die line on another, with proper bleeds and safety margins.
- Request a proof: Preferably a physical proof when shape precision is critical.
- Approve, then print: Once you’re happy with the mockup, proceed to production.
FAQ: Die Cut Printing and Custom Shapes
Q1: What is die cut printing in marketing materials?
Die cut printing in marketing refers to using custom-shaped cuts on print pieces like business cards, brochures, mailers, and packaging so they stand out from standard rectangles and better reflect your brand.
Q2: How much does custom die cut printing usually cost?
The cost of custom die cut printing depends on die complexity, quantity, and material. Expect an initial die fee for traditional cutting (often from $50 to several hundred dollars) plus a per-unit print and finishing cost. For small runs, digital or laser cutting can avoid the die fee but may cost more per piece.
Q3: Can I use die cut labels and stickers on curved or irregular surfaces?
Yes. Custom die cut label printing lets you create shapes optimized for bottles, jars, tubes, and other curved surfaces. A well-designed contour can prevent wrinkles, improve adhesion, and make your product branding look more professional.
Turn Ordinary Print into Brand-Building Assets
In an era where many brands compete solely in digital channels, tactile, memorable print pieces are a strategic advantage. With smart die cut printing, you transform everyday items—business cards, mailers, packaging, labels—into distinctive touchpoints that tell your story before a single word is read.
If you’re ready to upgrade from generic rectangles to custom shapes that match your brand personality, now is the ideal time to explore die cutting. Talk to a trusted print partner, share your ideas, and start with one project—a standout card, a reimagined package, or a bold mailer. The right shape can be the difference between getting overlooked and getting remembered.